
Do not index
Introduction to sending invites
With ARTSVP you can generate unique invite links and send them directly from the invites view. Invites allow you to have complete control over who can book certain events as the links are locked to a specific guest (with the name and email) so can’t be shared.
Creating invites
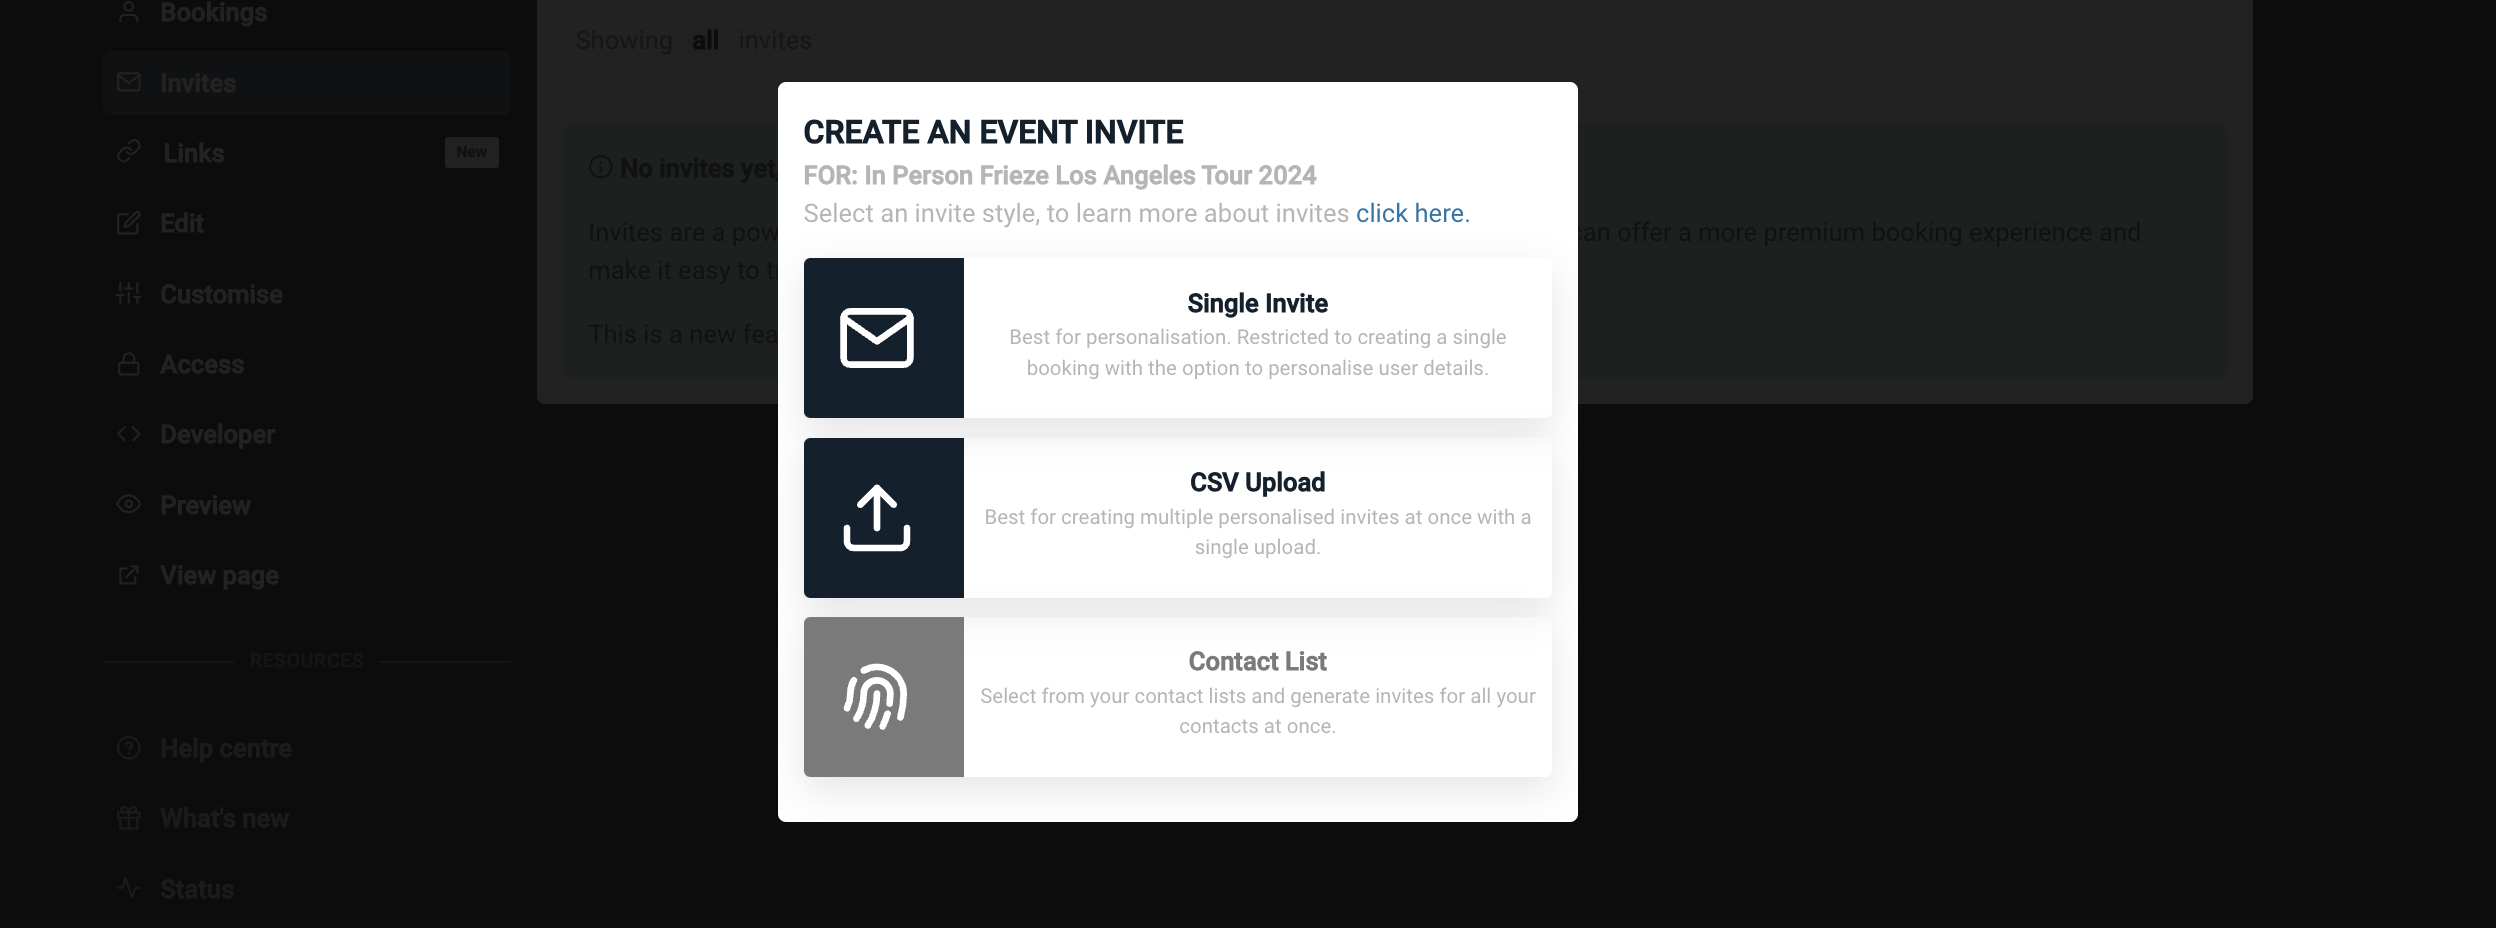
The first thing to do is to create your invites. This can be done by either generating them one by one or uploading a csv. You can also use our API to generate invites.
Creating individual invites
To do this click on the Create button and select single invite. You can then enter the Name and Email. We also highly recommend tagging.

Creating batches of invites using csv upload
If you want to generate lots of invites at once then you should use the csv upload tool.
It is important to make sure the csv file you upload is formatted correctly. We recommend downloading our template and then opening this in google sheets as this will then download in UTF-8 formatting when you export it to upload to ARTSVP.
The csv must have the column headers “name” and “email” and “tags”
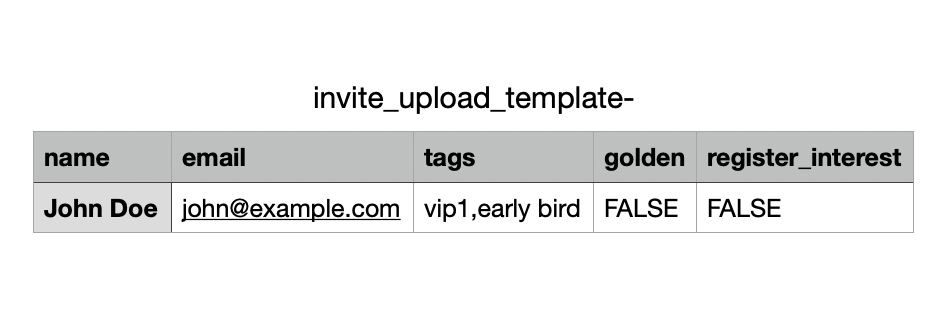
*golden invites ignore availability if set to TRUE (they default to FALSE if not present)
*register_interest invites only allow an invitee to express interest if set to TRUE, and then they must be manually approved to get the booking confirmed. they default to FALSE if not present)

Tagging invites
Tagging invites is a important if you want to filt er and send invites in batches. It Also makes it easy to filter just some invites.
Sending invites
Once you have generated invites you can send them individually or in batches. Please note that you can only send invites directly through ARTSVP if they have emails attached to each invite.
Sending a single invite
Simply click on the invite and click the send invite button. This will then open a email editor that you can update before sending the invite.

Sending a batch of invites
To send multiple invites at once simply check the box next to each invite or the select all checkbox and then click the actions button followed by the send invites button. After you have selected this you can edit the invite email before sending to all guests that have yet to book yet.

Send count
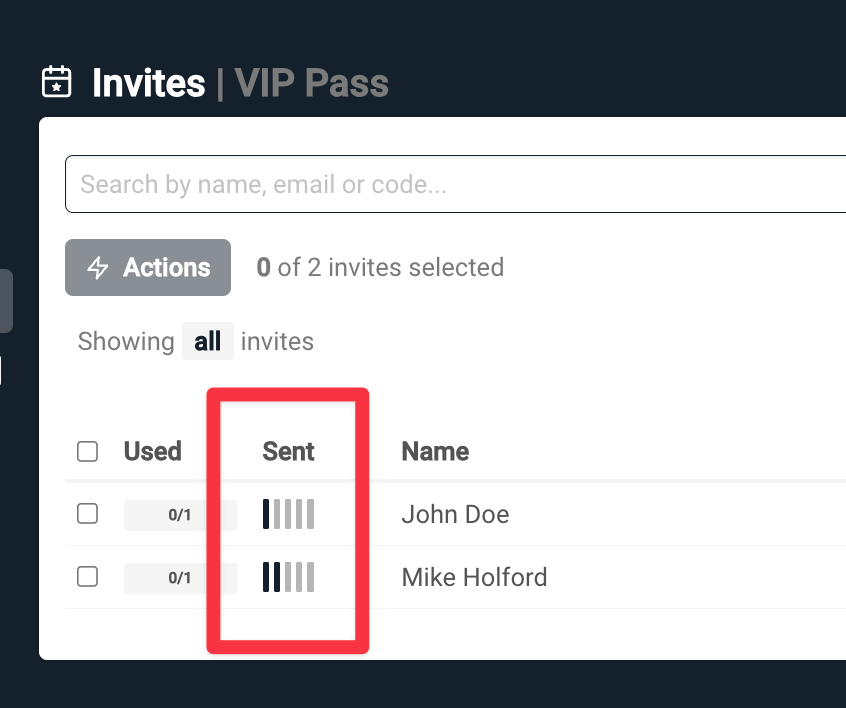
Each invite can be sent up to 5 times. The Sent column show how many times it has been sent.
We never send used invites again
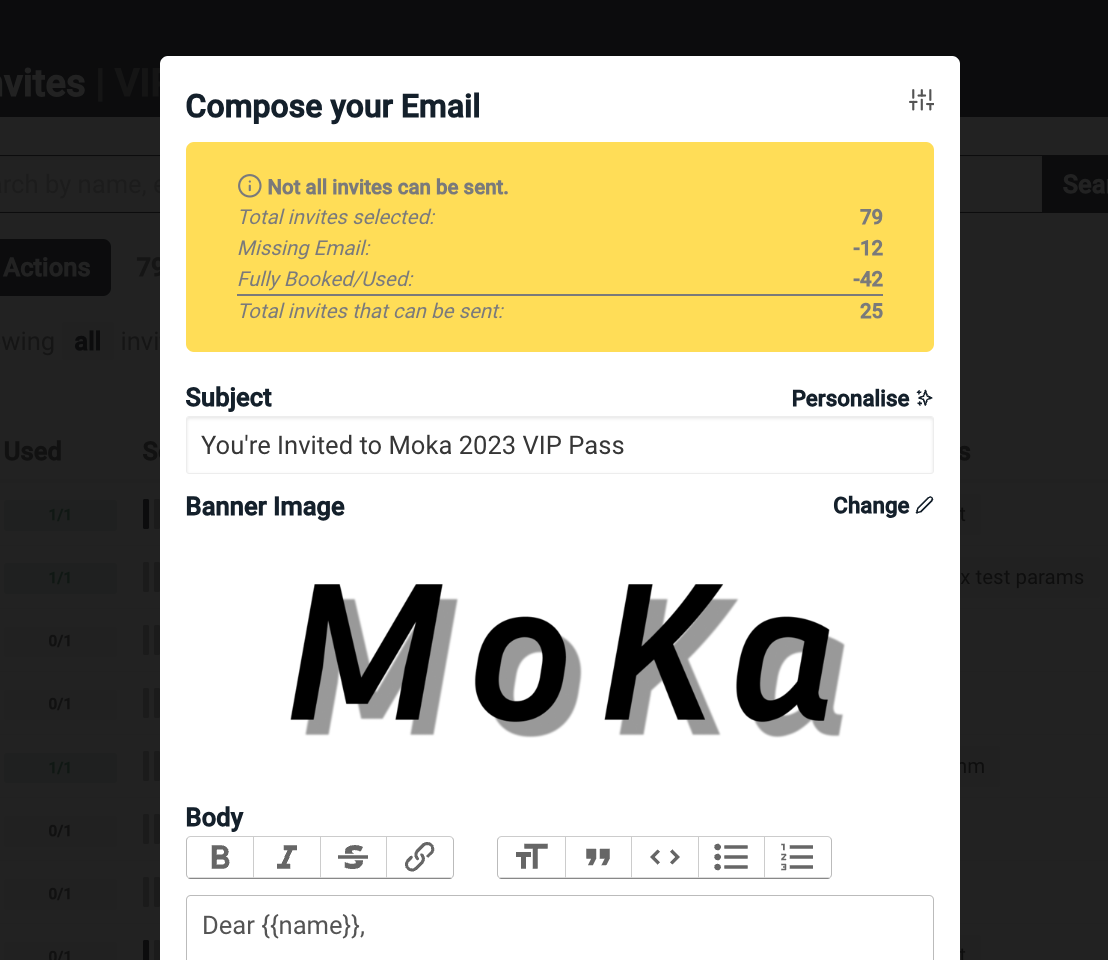
When you send a batch of invites, some guest will not book the first time. When you send again all you need to do is select all invites and ARTSVP will automatically segment out all the invites that have been fully used.
When you click send invite a yellow box will show you how many invites will be sent.
Customising the email that is sent
You can do the following:
- Edit the subject of the email
- Edit the body of the email
- Edit the banner at the top of the email
- Edit the From Name
- Edit the Reply to email address

What does an invite look like when the customer receives it.
See the gif below that shows the email and the experience when they click RSVP.

If invites fail to send
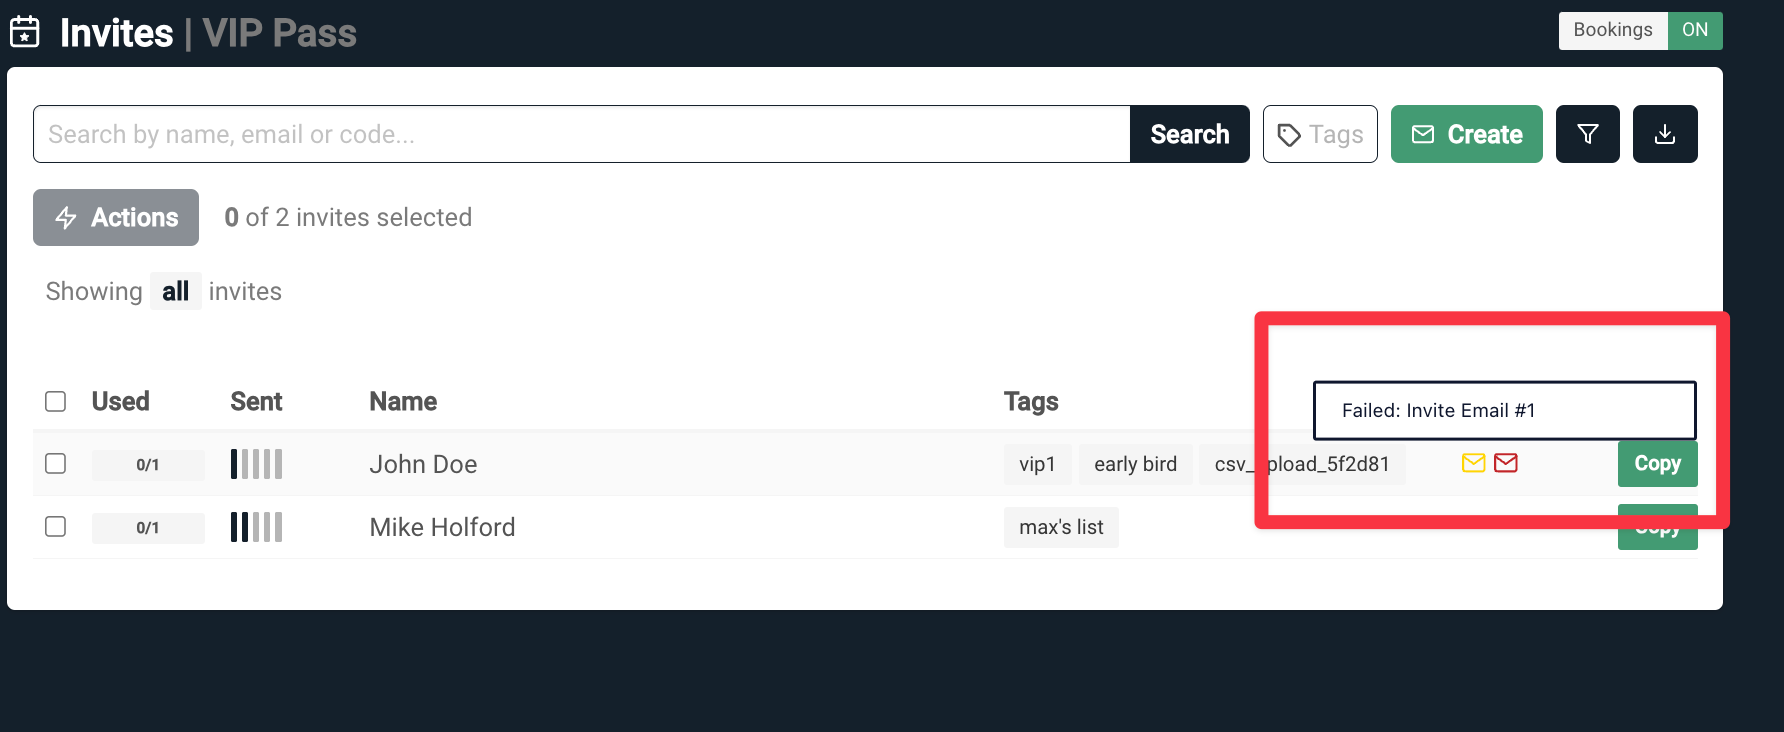
If an invite fails to send through ARTSVP you can see a small red envelope next to the failed invite. If you click on the invite you can see further infomation about the failure in the activity section. It is likely the email had a spelling mistake so be sure to check that before trying to send again.
Written by
